3D Objects Table
Import, manage, visualize, and export 3D objects, including imported models (STL, OBJ, or PLY) and segment-derived meshes.
Steps
-
Import Model
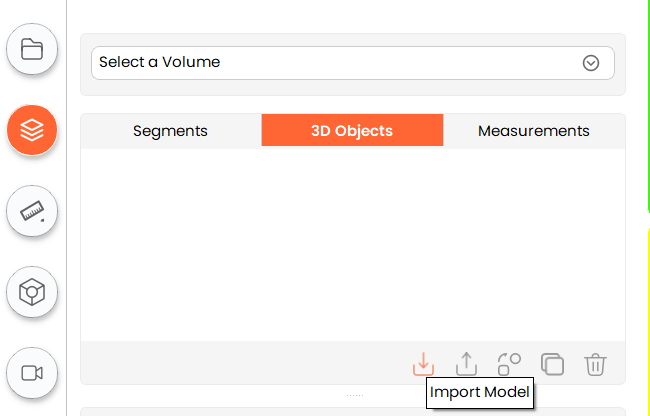
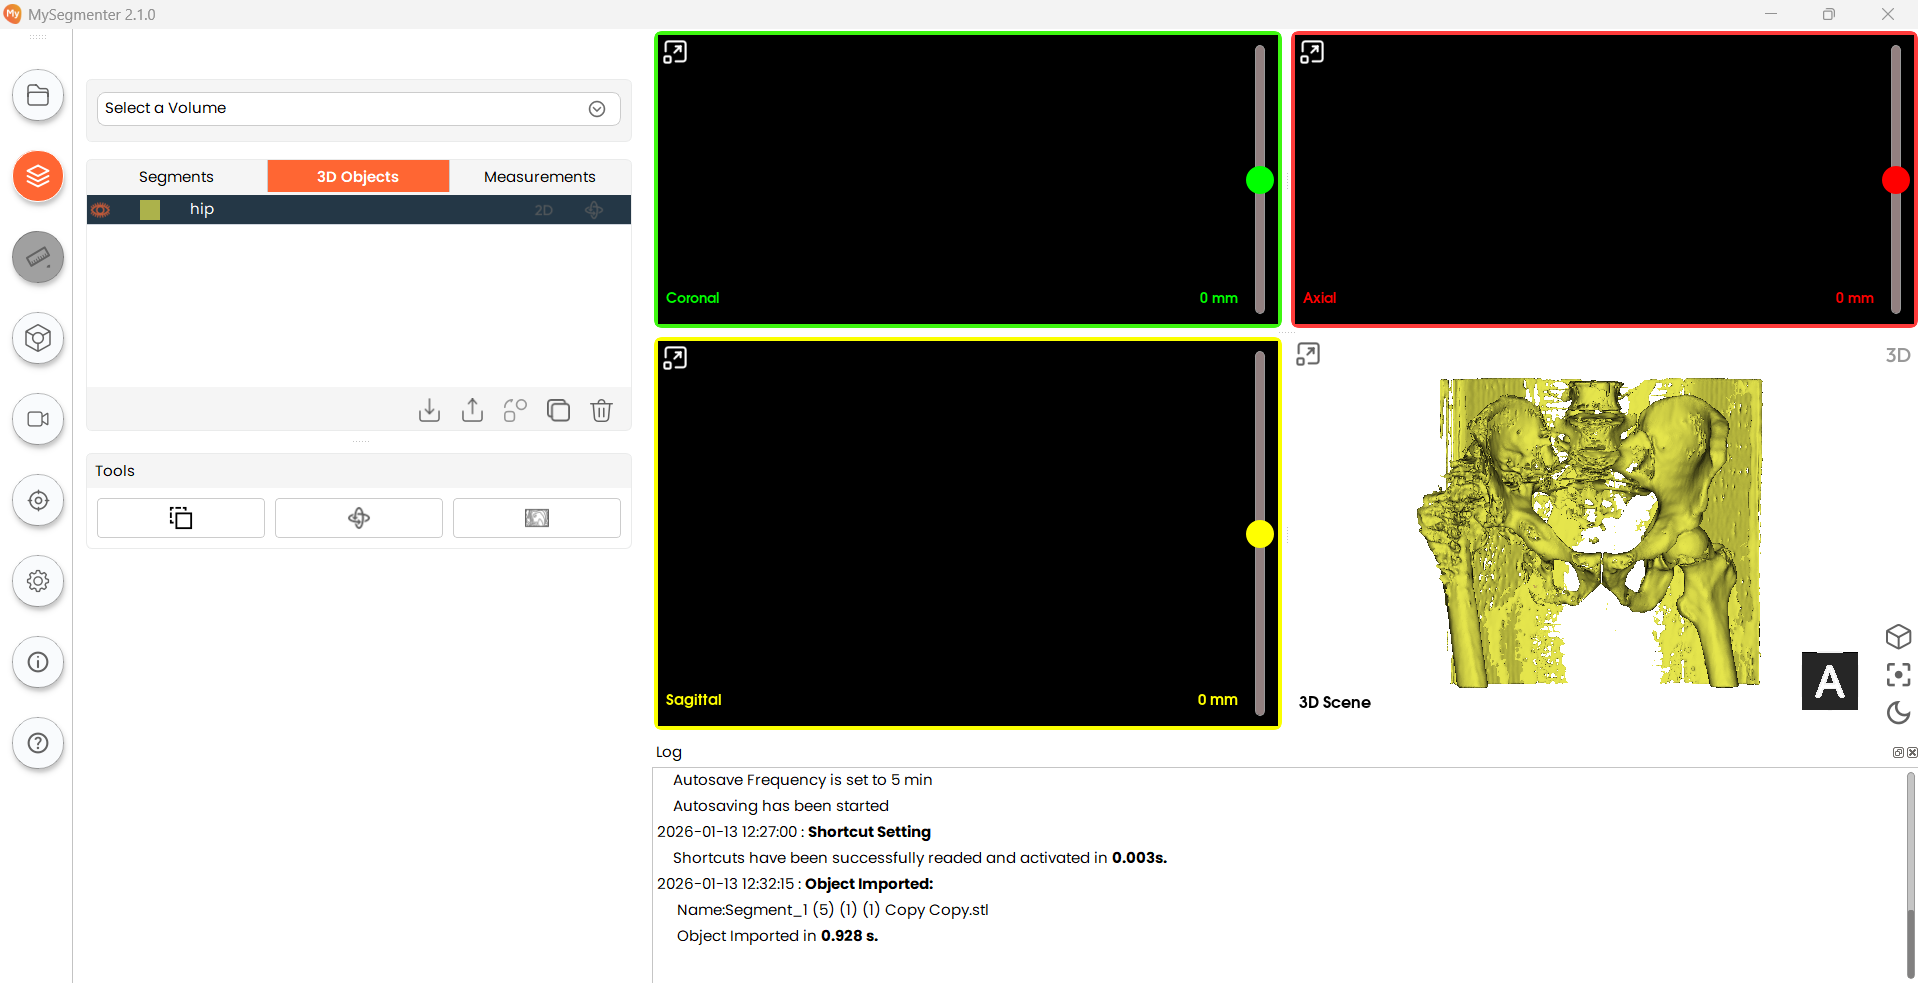
- Click Import Model and select one or more model files in STL (.stl), OBJ (.obj), or PLY (.ply) format. The same import is also available from the Import Model button in the DICOM Wizard, which behaves in the same way and accepts the same three formats. If a selected file is of an unsupported type, empty, or damaged, that file is reported as invalid and skipped, while the remaining valid files are still imported. Models can also be generated from segments using the Convert Segment to Model workflow described in the Segments section.
-
Rename model, toggle visibility and 2D view, change color
- To rename a model, double-click its name in the model list.
- To change a model's display color, double-click the color swatch next to its name.
- Click the eye icon to show or hide the model in the 3D view.
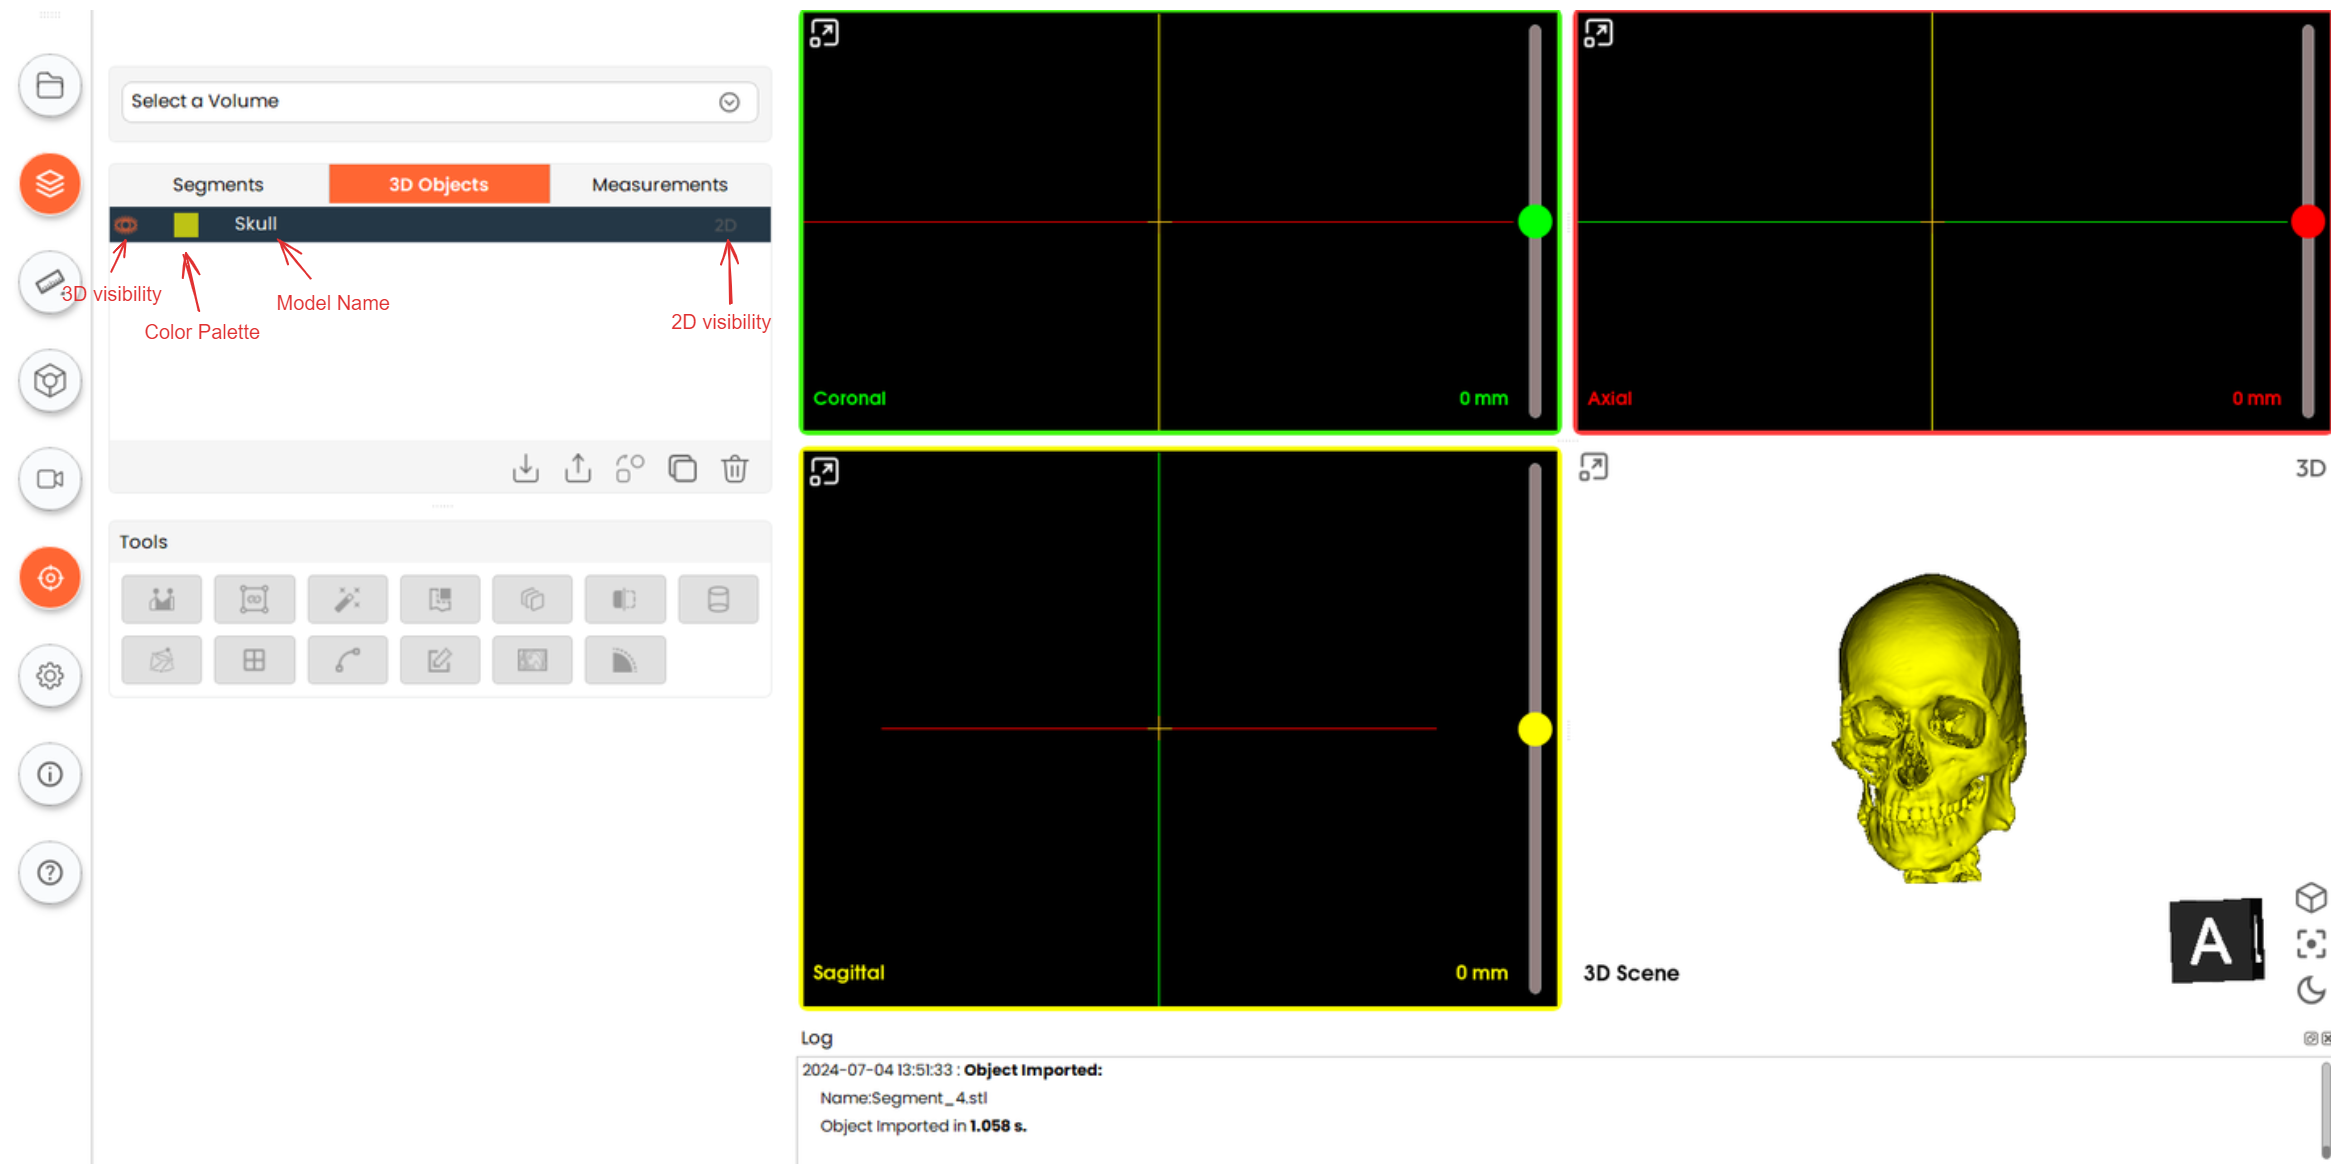
- Click the 2D option to show or hide the model overlay in the 2D slice views.
-
Export Model
-
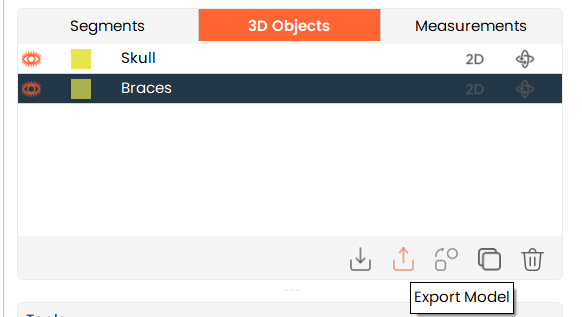
To export multiple models at once, hold Shift and click each model to select them.
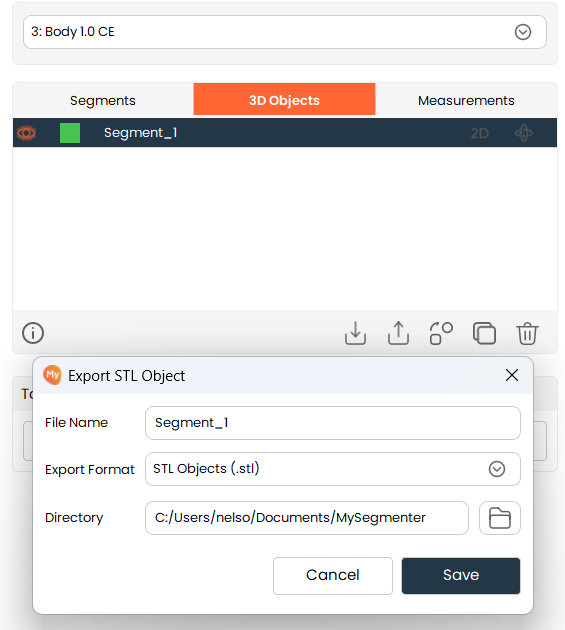
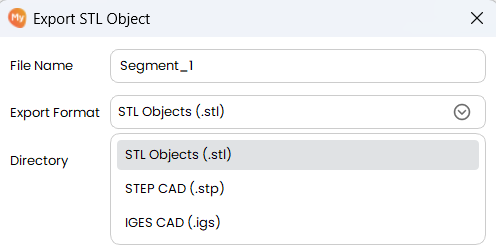
- Then, click on the "Export Model" button. The export window (previously titled "Export STL Object") will appear, where you can change the filename, export format (STL, OBJ, PLY, STP or IGS), and destination location. Finally, click on "Save" to export the model. If a file of the same name already exists in the selected directory, you are asked whether to Overwrite or Keep both; Keep both is the default, so an existing file is not overwritten unintentionally.
-
Notes:
-
For IGS or STP conversion, if multiple disconnected mesh components are detected, the user shall be prompted to:
1.1.Export only the largest component
1.2.Export all components
1.3.Skip the object
-
The system shall notify the user before proceeding if mesh quality issues are detected, including but not limited to:
2.1.Small geometric features
2.2.Thin structures
2.3.Open boundaries
2.4.Unusual unit scales
4.Convert Model to Segment
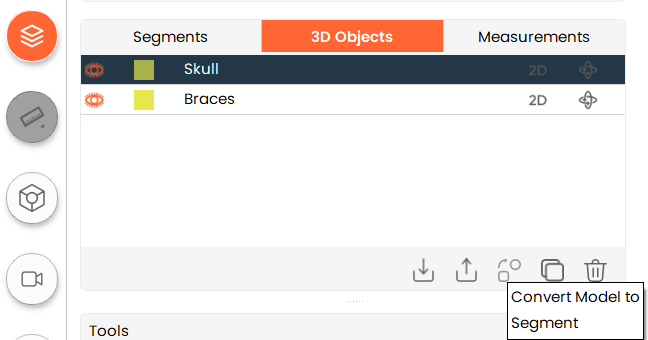
- To convert an object to a segment, a volume must be available. Click on the "Convert Model to Segment" button to convert. The converted segment will be available in the Segment table.
-
Copy Model
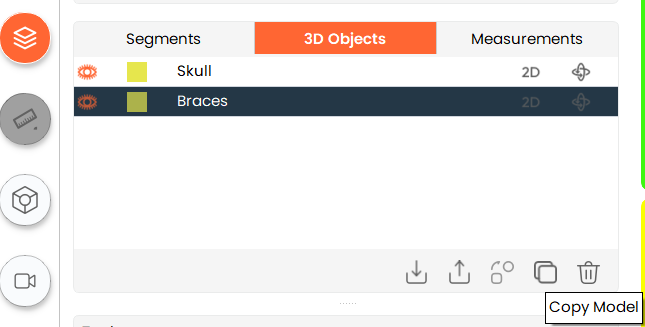
- To create a copy of an existing model, select the existing model and click on the "Copy Model" button.
-
Delete Model
- To delete any existing model, select the model you want to delete and click on the "Delete Model" button.
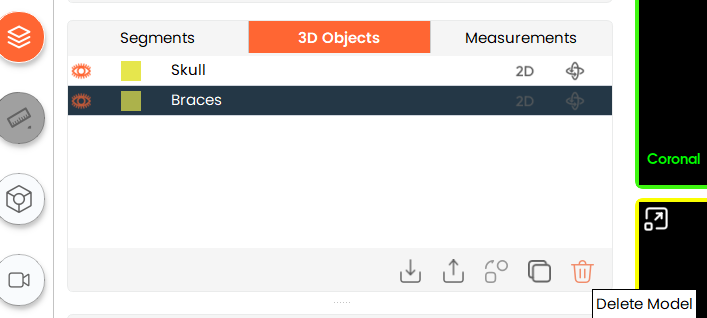
- To delete any existing model, select the model you want to delete and click on the "Delete Model" button.